I have told you that I don't sew and that the only test I ever cheated on in school was in Home Ec, where I had to label all the components of a sewing machine.
No more, my friends, no more.
I am here to tell you that if I can do this, you can do this.
Just as long as you don't need perfection, you will be golden.
Ready?
First, go moose mouse creations. She has aaaaalllll the cool measurements and directions for the envelope pillow cover.
Her seams are pretty, her pillows are pretty.
Do not look too much at all the cutie-patootie creations you can make. If you are a somewhat reformed sewing cheater like me, just stick to the basic pillow.
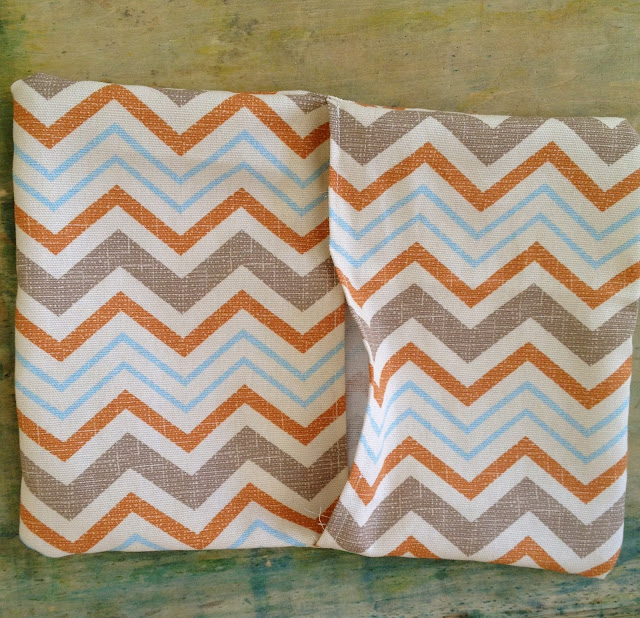
Here's my version just to prove that I did not pay someone to do this.
I went to Wal Mart and found 14x14 pillow forms on sale for $5 each and the material was by Waverly for $2.97 a yard.
I got three yards and made seven pillows.
Uh-huh. You heard right. SEVEN.
This shows the three pieces needed to make the envelope:
In this next photo, I "finish the flap edge of each rectangle piece".
I had no idea what this scientific sewing term was, so I googled "flap edge for sewing".
Just so you know, it's the edge of the piece of material. As in for the front of the pillow.
It's not a scientific term in sewing.
Now begins your mantra:
"RIGHT SIDES TOGETHER. RIGHT SIDES TOGETHER. RIGHT SIDES TOGETHER."
Sew around the whole center.
Oh. And pin it together. That helps.
All of you sewing geniuses out there please tell me this-
HOW do you cut a straight edge? Do you see the right side? All of my pillows were wonky like this and I took great liberty of the "stitching the 1/2" seam".
Here I get all professional and cut the corners.
Cause that's what the directions said. And I always follow directions.
hahahahahahahaha
Turn it right side out.
Now you will find out if you have said your mantra enough.
Otherwise, get really familiar with your seam ripper.
Oh-this is also where you will find out if you were in such a rush to photograph everything that you forgot to sew one side of the pillow. Turn it back inside out and go finish the job.
Be brave.
Because....
You are all finished!!!
Stuff your pillow form in there, make it all fat and sassy and enjoy.
I ran out of material for the two larger pillow forms that I used, so I got all brave and crazy and did one rectangle flap out of some muslin that I had sprayed with some Dylusion spray ages ago.
All in all, the 3 yards of fabric made five 14x14 pillows and two 16x16 (with the exception of two of the rectangles).
Why did I decide to do all this????
Cushions for the stump seats around the fire pit!!!
If you try it, let me know how it turns out!
If anyone wants to know, I still would fail a sewing machine components test.


No comments :
Post a Comment