
This is before:

this is after:

This is the tutorial!
I got out my old nemesis, the GEL MEDIUM.
And decided to try yet another image transfer.

Then I copied this sweet bird from Karen over at
I just used my ink-jet printer....

Then, I spread a good layer of GEL MEDIUM on top of the print.
Do NOT, not, NOT get GEL MEDIUM on the back side of your paper!
You want in only on the print.

Put it face down on your project.
Burnish with a bone folder.
As you rub the paper, if you go to the edges and the GEL MEDIUM squeezes out, wipe of the bone folder before making another pass over the transfer image.
(That's so you don't don't don't get GEL MEDIUM on the wrong side...)

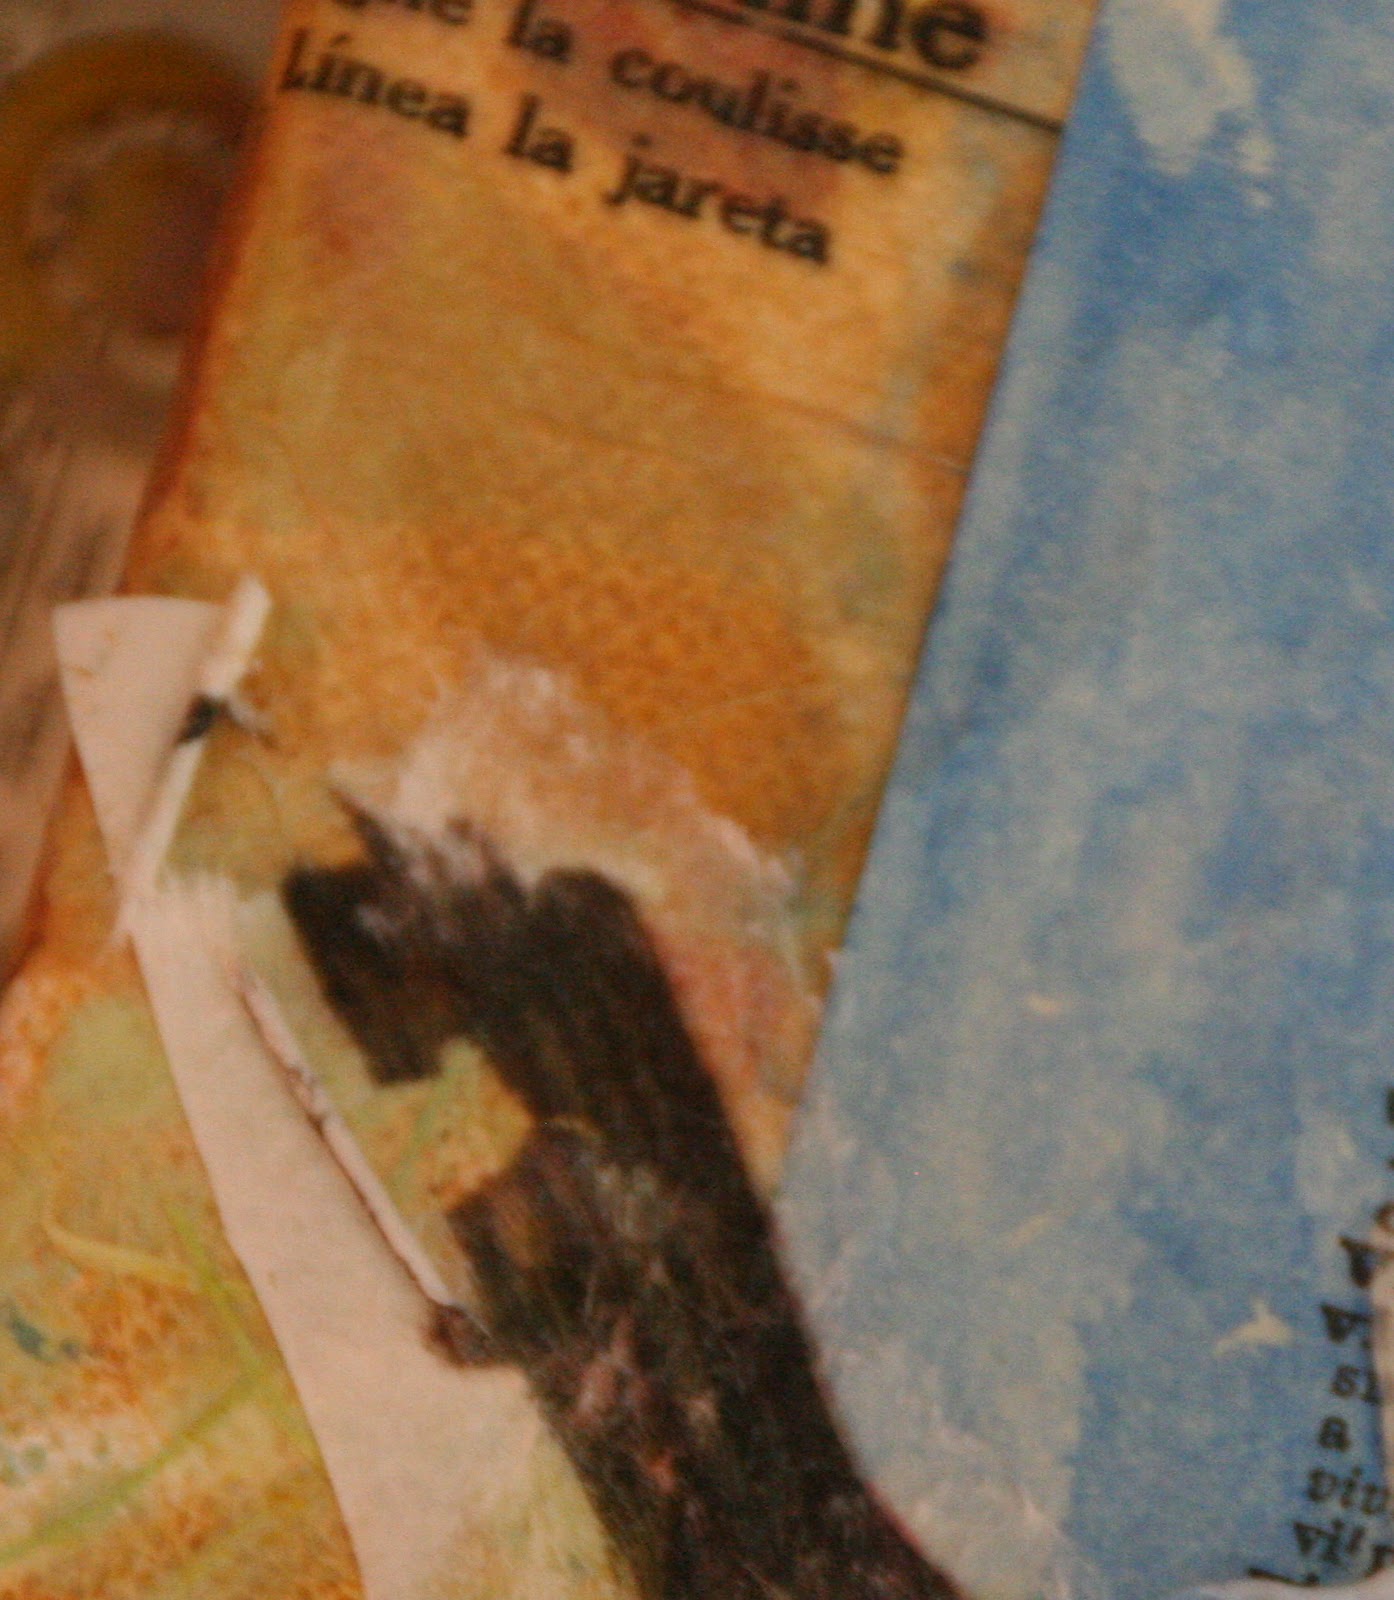
This time, I didn't wait for the image to dry. After rubbing it really well, I slowly peeled off the paper to reveal my little bird:

I know, right????
It's like a present unfolding!
If you see chunks of it not coming off, try laying the paper back down before pulling it all of and go over it again with the bone folder.
It might help.
But remember, you are working with GEL MEDIUM, so it's all up for grabs.

Here, the image didn't quite come clean, so I gently rolled the top layer of white paper off of his tail.
I think birds like clean tails.
I think he's o.k. with a chunk of it missing.
'Cause it's clean.
I was pleased to see that it worked over the side of the box as well.

Ta-da!

If you click on the image, it will enlarge.

Now on to clean up the room.
Sorry. No tutorial for this, other than get the trash basket out!!

xo
lynn


Oh no! Now I have to go buy some gel medium!
ReplyDeleteOh WOW Lynn!! This is amazing and SOOO beautiful!! Is your Etzy page up yet? I have to find some time to take classes to learn this fun stuff. Or maybe I should just travel the 45 minutes and hangout with you!
ReplyDeleteWell how cool is that?! I love my gel medium. How come you don't likey so much? Thanks for sharing this process. Never thought about this technique, but will now.
ReplyDeleteI never knew how to transfer something like that. It looks great. I think with a bit of the tail missing it looks really authentic.
ReplyDeleteThanks for sharing this!
Jill
Gorgeous!! love that technique too! gonna have to incorporate that into my art somehow. thanks for sharing :)
ReplyDeleteI've seen a tutorial of image transfer on paper, but I didn't know if I would like the messy remains of the paper leaves on canvas. I do! Thanks for this! Love the piece!
ReplyDeleteI've seen a tutorial of image transfer on paper, but I didn't know if I would like the messy remains of the paper leaves on canvas. I do! Thanks for this! Love the piece!
ReplyDeleteNice work! Haven't tried transfers with the gel medium and you tutorial gets me thinking I should!
ReplyDeleteSee you flying,
Susan
Thanks for sharing! I love my Gel Medium. It may be time to do a transfer again ...
ReplyDeleteThere.
ReplyDeleteSee how brave you are?!
Very cool!
And what is this about cleaning???
I say why bother.
Just make a bigger mess.......
I love image transfers - yours is so beautiful. I like the entire outcome of this.
ReplyDeleteoh, Lynn. I am just getting over a nasty respiratory infection and I did read your work tale..very impressed. Very tired. Please do go my blog site where there is some cool news!
ReplyDeleteLove you,
Suz
Oh Lynn, it is so amazing.
ReplyDeleteSee you have such talent and patience for this work.
I would be like, dry already!
LOL
I am so happy to hear that you are finding time for yourself and your art
Amy
WOW!! I just love this.. I have done one transfer like this. It didn't turn out so well. I really need to try it again. Your work desk looks just like mine. I guess that's a good thing. Cause were are having fun creating..
ReplyDeleteHope you have a happy weekend..
Hugs, Linda
That stuff is so cool. I must get some and try it somewhere. I don't know where though. Will it work on fabric?
ReplyDeleteLynn, this is a GREAT tutorial! You have given me courage to try it for myself;D
ReplyDeleteLynn, it is GORGEOUS. I clicked and was able to do the little slide show to see them larger. I loved that, btw.
ReplyDeleteYou did a beautiful job with this!! I purchased all the materials to decoupage a couple of years ago. Is this the same thing? I love that you're able to do so much creating lately. I've been in the frame of mind to start to create again but the rest of my life isn't cooperating!! : )
ReplyDelete~ Wendy
http://Crickleberrycottage.blogspot.com/
Love, love, love it girlfriend!!!! I must try that one...do you need to wait for the ink to dry or does it not matter?? I adore how this project turned out & the bird just reminds me of you, FLY girlfriend!!!
ReplyDeleteHugs...
I love your little birdie, Lynn! Thanks for the great tutorial, now I need to get some gel medium. I've tried this technique before with Mod Podge. Thanks for the great tips!
ReplyDeleteLove your mixed media piece on Brave Girls Club today and love this tutorial. I'm a new follower! Lovely
ReplyDeletea lovely project!
ReplyDeleteThis is beautiful! I love the image transfer tutorial, thank you for sharing.
ReplyDeleteI wanted to share that I have started a Word Art Wednesday challenge at my blog and I would love for you to link your beautiful project. Have a great day!