
As long as I have you covered for
gift giving, (as in click HERE for the blog store)
I thought I would throw in a little tutorial on freezer paper transfers and working out at the same time.
I saw two of these tutorials on Pinterest.
The links are HERE, under my "projects to do" board.
Sometimes I actually do what I find on Pinterest.
Sometimes.
Mostly, I pin stuff and forget what I have pinned.
ANYway, gather some freezer paper, a sheet of computer paper and some spray adhesive.

Spray the NON - wax side of a piece of freezer paper with the adhesive.
Place it on top of the sheet of computer paper, smooth it out and then cut to the size of the computer paper, WAX SIDE should be facing up.
Pull up some images on your computer.
I have a Mac, so I put images I found at The Graphics Fairy on Pages.
If you have wording, you will need to reverse, or flip the image.

On a Mac, go to file, then click print.

My Mac is about 5 years old, so it works differently than stated in the tutorials I have pinned.
Click on Layout.


From there, you will click Print Settings and find two boxes marked Gray Scale and Mirror Image.
Click Mirror Image.

Here comes the working out part:
Put your printer in a room upstairs, because there isn't any room for it in your art room.
Each time you hit print, run UP the stairs to retrieve your paper.
Each time you load the freezer paper in your printer, run UP the stairs.
Repeat.
Bonus:
Have the dog follow you each time and you can consider her having had her walk for the day.
Make sure you load your piece of freezer paper into your printer so that the image will print on the
waxed side.
It will look like this when printed :

At this stage, each tutorial said something different. One said spray hair spray onto your materia, one said spray some water.
I first sprayed a piece of muslin with some hair spray.

Next, lay the copy, face side down on the muslin and rub with the back of a spoon.
Again, each tutorial said something different. One person said the back of a spoon worked better, the other said the edge of the spoon was the way to go.

Judging by the way this first color piece came out, I don't think color transfer is the way to go.

The cool deal is that you can spray your piece of freezer paper with some water, wipe off the copy, run upstairs and re-use the same piece of paper for the next transfer.

To turn my colored copy to black and white, I clicked the box for GRAYSCALE, which is above the box for Mirror Image.

Run back upstairs to retrieve the copy.
Do not trip on the dog.

This time I sprayed a little bit of water on the muslin, then
laid the copy face down on the muslin and rubbed away with the back of the spoon.

Bleah.
Not happy with this one, either.
The print seemed to come out o.k. either way, all though it is a little light:

Wipe off the transfer,
print on grayscale and mirror image.
Run back upstairs.
See if you can beat the dog this time.
This is how it turned out rubbed on the muslin WITHOUT water or hairspray.

I still wasn't particularly happy with it, so I chose a different graphic to see if maybe the color and shading in the original graphic would make a difference.
Print on grayscale and mirror image, run upstiars...
You get the routine.
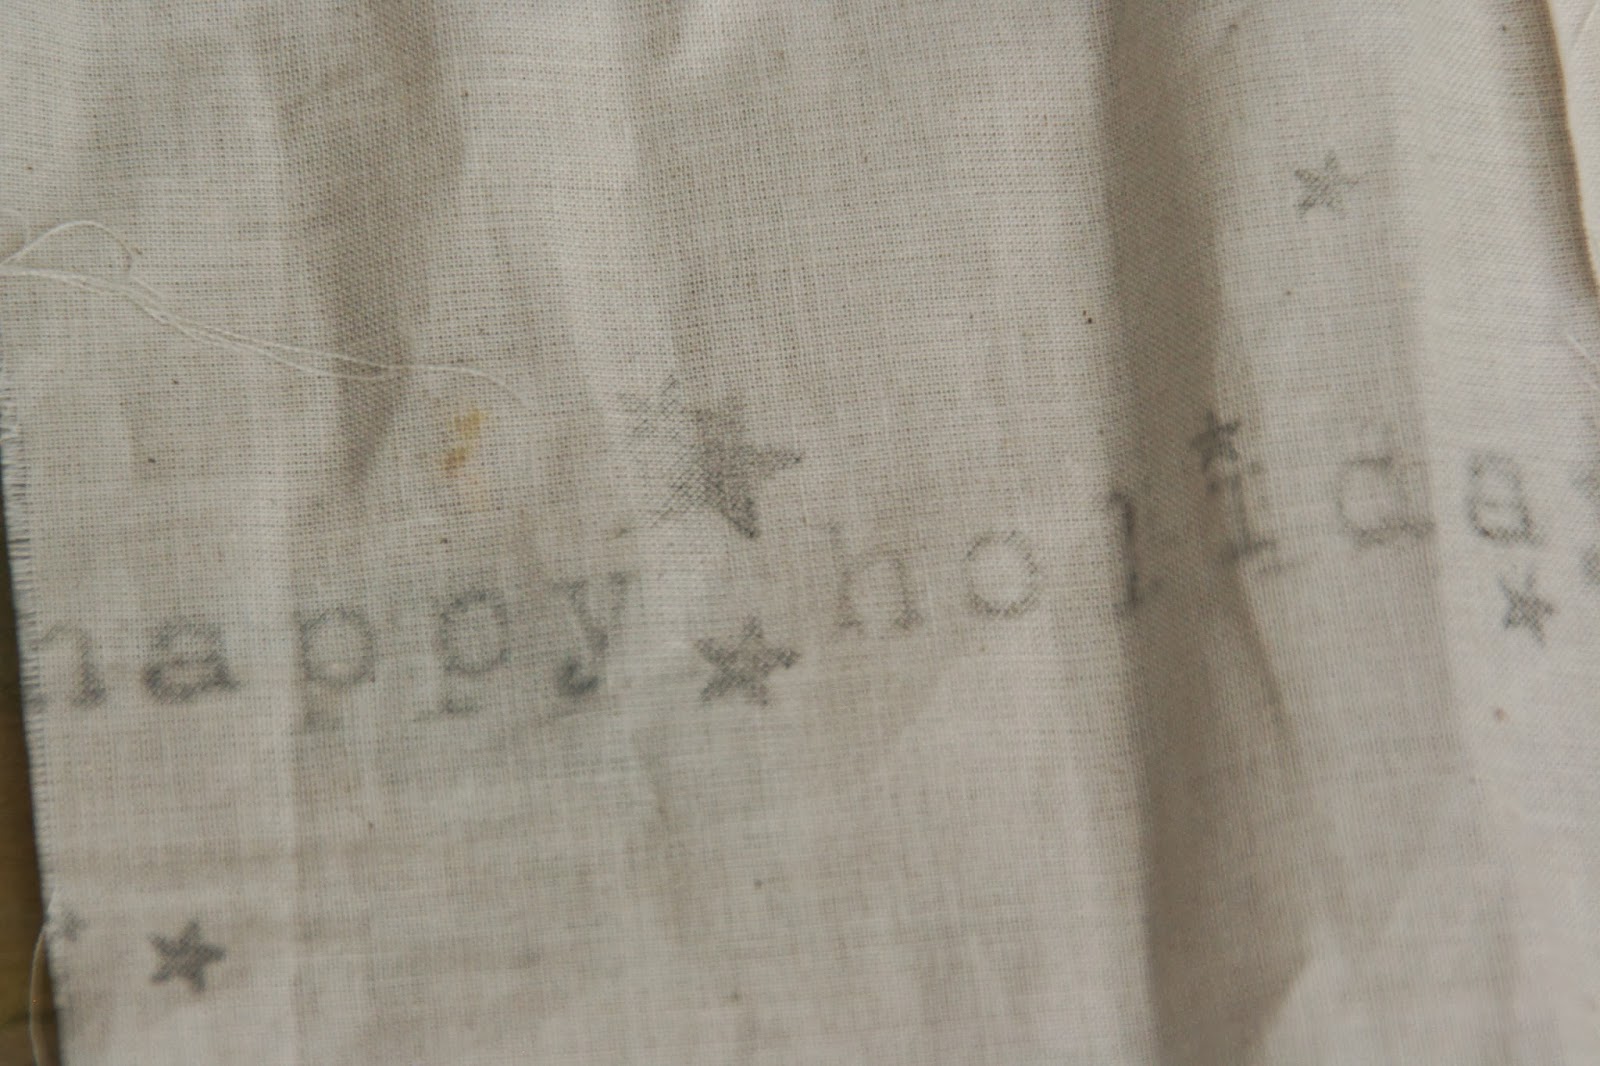
This time I took longer to rub and used the edge of the spoon, but did not put any water or hairspray on the muslin.
What do you think?

I would love to hear if you have tried this before and how it worked for you.
Happy transferring!


well cheers to you for trying all the ways for us plus getting in an hour or so of workout time
ReplyDeleteOnce I get to feeling better I am so trying this. I have a ton of freezer paper from quilting projects years ago.
I will let ya know how it goes :)
Amy
Hi Lynn,
ReplyDeleteI've never tried this process....but, this is the image transfer process that I've done with success. Using a laser copy (not inkjet), cover it with gel medium, place face down on muslin, when dry use a wet paint brush and gently rub away the paper. Makes a great transfer (plastic feel though). Have you done it this way? Google if trying it, to make sure I've got everything right:)
xo A
This comment has been removed by the author.
ReplyDelete